The leader in field service, inspections and property management.
860-761-0001
To start Field-Comm, locate and double click the link located on your desktop.

You may also start Field-Comm by clicking on on the Windows "Start" menu, and then going to Programs > East Point Systems > Field-Comm.net > Client > Field-Comm.net
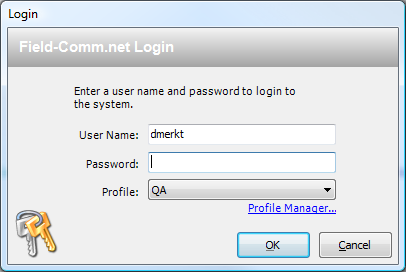
Once the Login screen is visible, enter your user name and password into the spaces provided, and click "OK". When Field-Comm is first installed, the default user name is "administrator" and password is "manager".
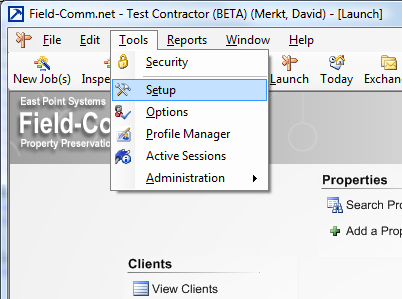
Now that Field-Comm's opened, you will want to enter your company's information in to the software. First, click on Tools > Setup
You will be presented with the Setup screen. Click on the "Company Preferences" button
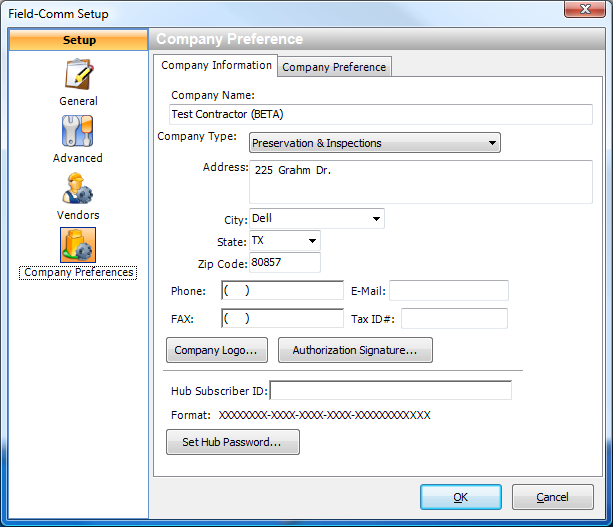
Enter in your company information. When you have finished entering your street address, skip over the City and State fields to go directly to the Zip Code field. Enter in the zip code, and then press the Tab button on your keyboard. The City and State fields will then be automatically filled in for you. Any time that you see a Zip code field in the software, press Tab, and the associated city and state will be automatically completed. Important note: Do not change the Hub Subscriber ID or Hub Password. Doing so will prevent Field-Comm from working properly.
Field-Comm.net makes it easy to invoice your client for the inspections that you've peformed. You must follow a few steps in order to configure this functionality.
First, you must set up your pricing regions. You set up the regions by clicking on Tools > Setup

We will then click on the "Pricing Regions" button to configure the pricing region.

Click on the "Add/Modify Region Names" button to begin

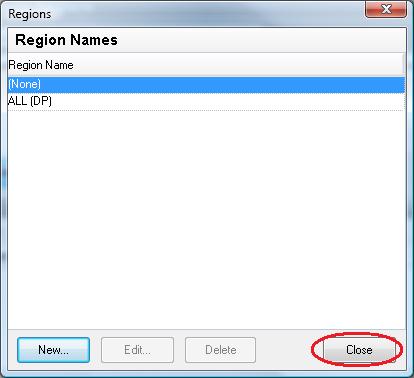
In the Region Names window, click on "New" to begin creating a new region

We will then type in the name of the region that we are creating [ALL (DP)], and then click on OK

Finally, click the "Close" button to return to the Pricing Region screen
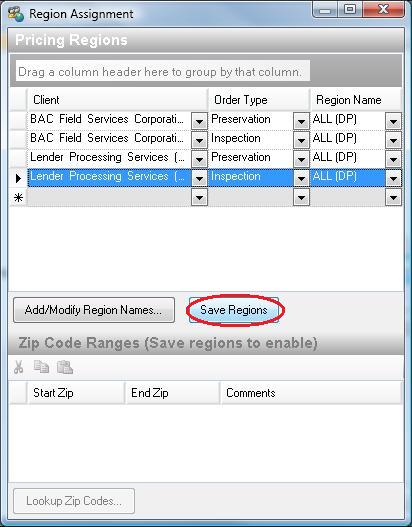
Now we are back at the "Pricing Regions" screen. We will choose our client from the dropdown, choose "Inspection" as the order type type, and then choose "ALL (DP)" as the region name. After this has been selected, click the "Save Regions" button.
We now need to assign zip codes to your region. In the bottom half of the screen fill in the start zip cell with 00000 and the end zip cells with 99999. If you can't type in the zip code range, make sure that you've clicked the "Save Regions", because without clicking that button you won't be able to type in a zip code range..
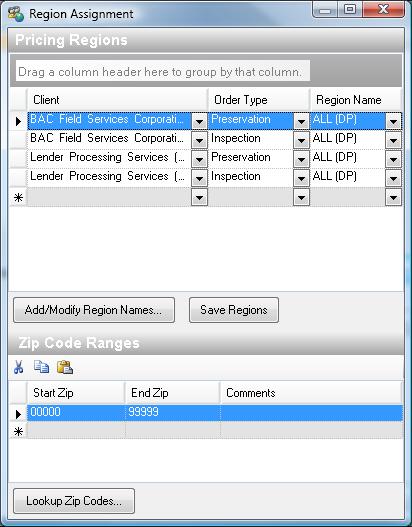
When you're finished, click the red X at the top of the screen.

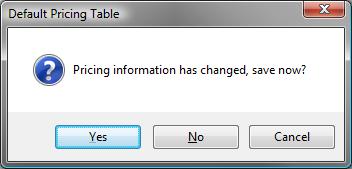
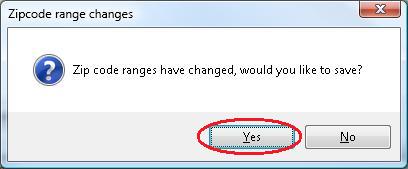
You will be asked if you want to save the changes, click "Yes"
The next step is to configure the prices that you bill your client for the different inspection types that you perform. You do this inside the Pricing screen.
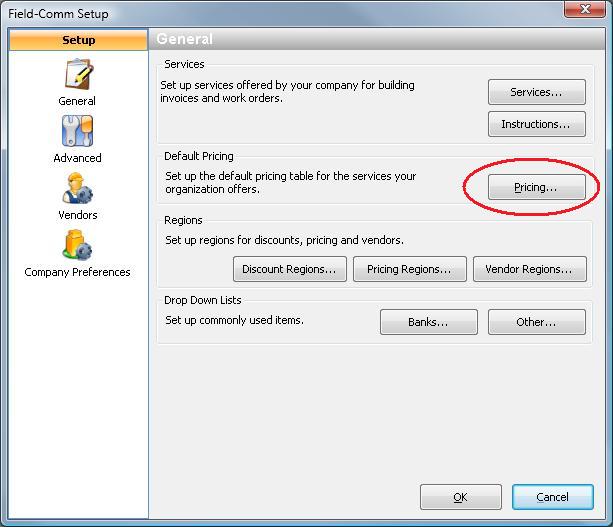
Once you've opened the Pricing screen, change the Region dropdown to ALL (DP). Then adjust your pricing. The amount that you charge your client per inspection will be typed in the Amount column. If you also charge your client for each photo you take, you can enter the amount charged per photo in the "Amount Per Photo" column.
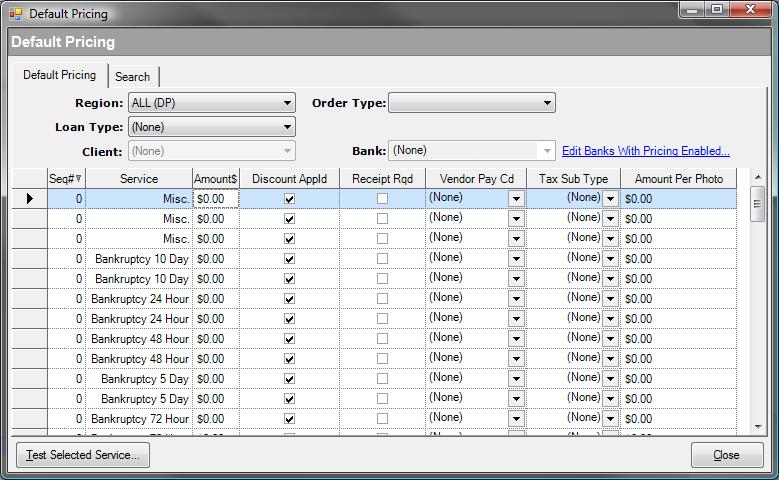
When you have finished entering in your pricing, click the Close button. You will be asked if you want to save the changes, click "Yes"