The leader in field service, inspections and property management.
860-761-0001
To start Field-Comm, locate and double click the link located on your desktop.

You may also start Field-Comm by clicking on Start > Programs > East Point Systems > Field-Comm.net > Client > Field-Comm.net
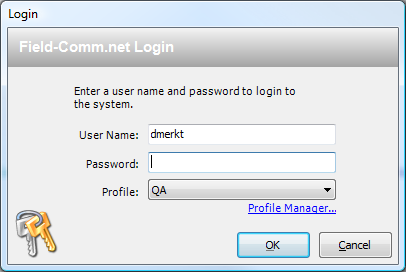
Once the Login screen is visible, enter your user name and password into the spaces provided, and click "OK". When Field-Comm is first installed, the default user name is "administrator" and password is "manager".
Field-Comm will then load, and open to the Launch Screen
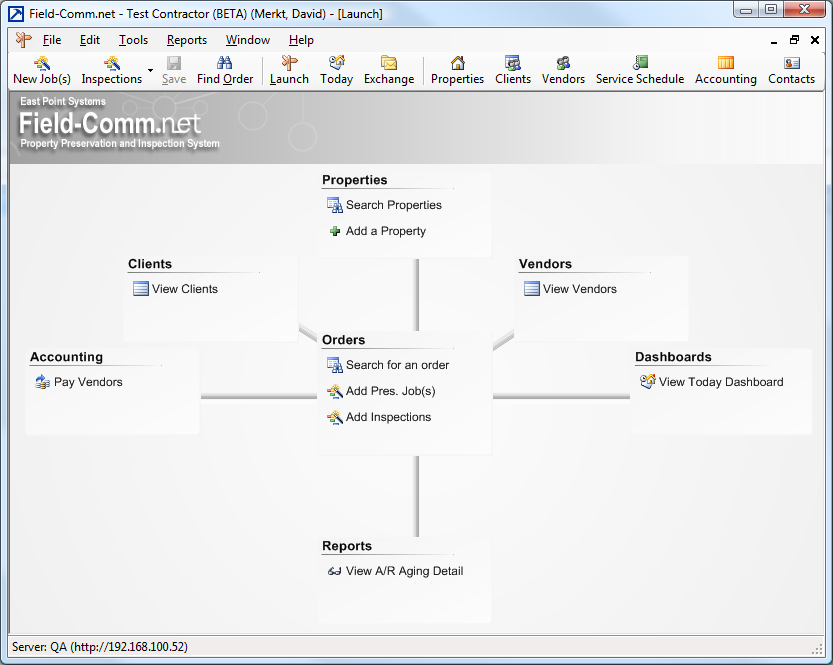
Now that Field-Comm's opened, you will want to enter your company's information in to the software. First, click on Tools > Setup
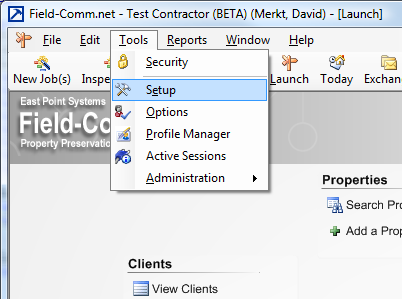
You will be presented with the Setup screen. Click on the "Company Preferences" button
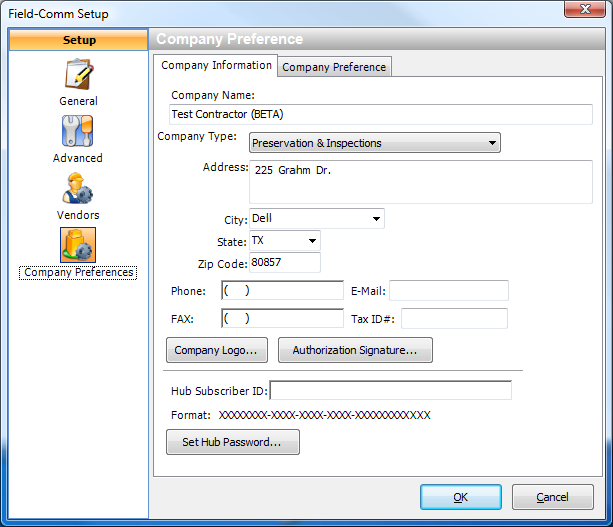
Enter in your company information. When you have finished entering your street address, skip over the City and State fields to go directly to the Zip Code field. Enter in the zip code, and then press the Tab button on your keyboard. The City and State fields will then be automatically filled in for you. Any time that you see a Zip code field in the software, press Tab, and the associated city and state will be automatically completed. Important note: Do not change the Hub Subscriber ID or Hub Password. Doing so will prevent Field-Comm from working properly.
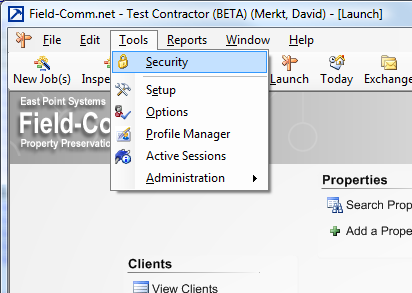
Click on Tools > Security
This will open the User Accounts screen
Clicking on the "Reset Password" button will change the password of the highlighted user. Clicking on "Deactivate" will deactivate the selected user's account, preventing them from logging in to the system. The windows opened by the "Add" and "Properties" buttons look nearly identical. Clicking "Properties" will allow you to change the selected user's name, password, and group. Clicking "Add" will allow you to add a user to the system.

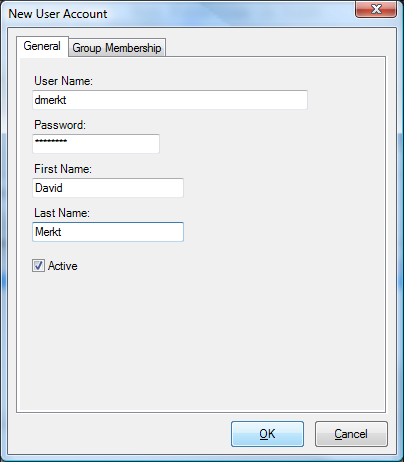
Fill out the information in the General tab. When you are finished, click on the "Group Membership" tab to assign the user to a group.
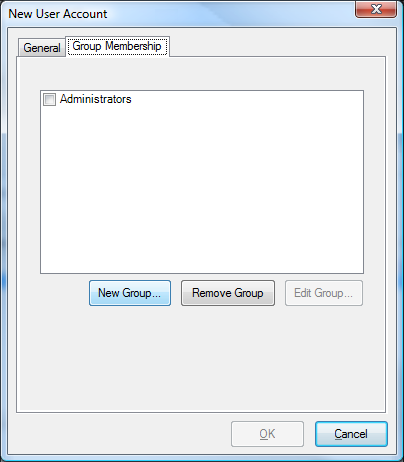
There is a check box next to each group name, which allows you to assign a user to a security group. Security groups allow you to set permissions on what users can and cannot do in the system. For example, you might not want order entry workers to be able to create bids, so you would deny them permission to do so in their specific group. The only group added when Field-comm is installed is the Administrators group, which has access to all features of the system. To limit what employees of the office can do, you will want to create additional groups, using the "New Group" button.
Click the "New Group" button to create a new group.
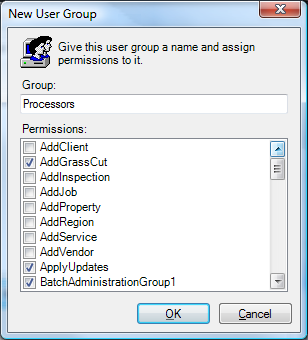
Enter a name for the group, and select the permissions that you want the group to have. When you are finished, click the "OK" button. Then check the box next to that new group's name to assign the user to that group, and click "OK" to save the new user to the system.
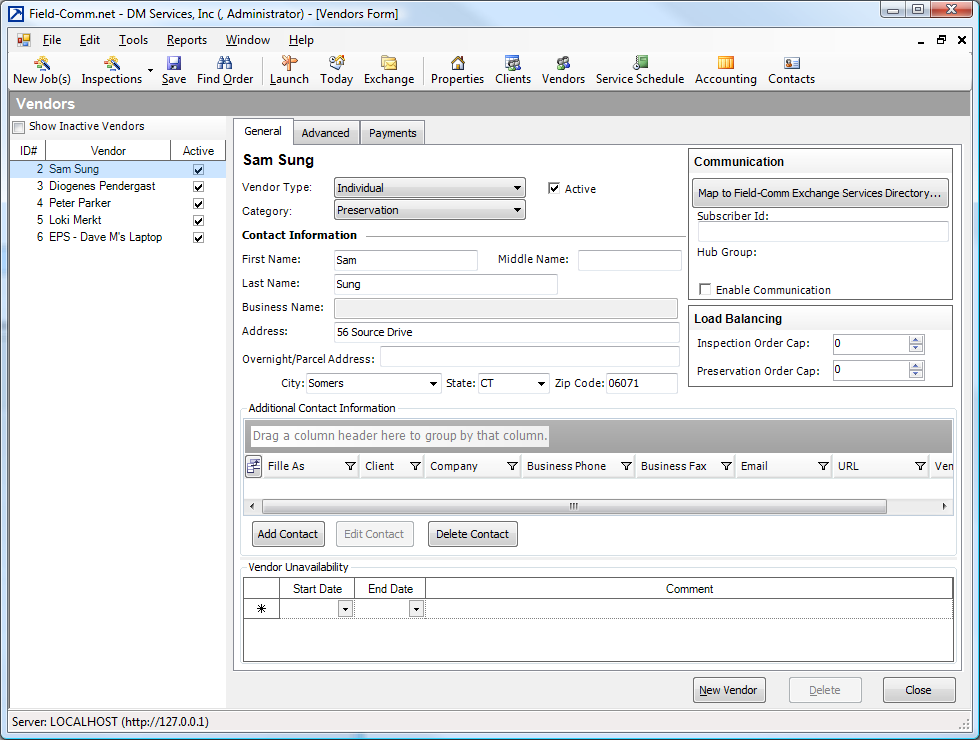
Vendors, otherwise known as contractors, are added to the system through the "Vendors" screen, which can be accessed through the button of the same name on the taskbar.
Clicking on that button opens the "Vendors" screen.
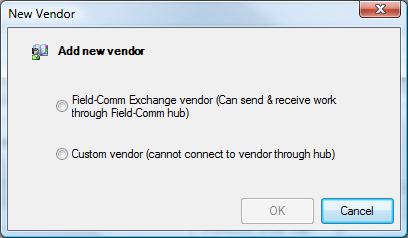
There are two types of vendors in Field-Comm: "Exchange" vendors and "Custom" vendors. Exchange vendors are vendors who have their own copy of Field-Comm installed on their laptop or home computers. You are able to seamlessly send work to them and receive results from them without having deal with emails, faxes, or printing work orders. Custom vendors are vendors who don't have Field-Comm, who you will be sending work by email, fax, etc. If you add a vendor as a custom vendor, and that vendor then gets Field-Comm, you will be able to convert them to an Exchange vendor.
To add a new vendor to the system, click on the "New Vendor" button on the lower right hand side of the screen. This will open up the "New Vendor" window, which will allow you to select the type of vendor that you're adding. Click the radio button that you're entering, and click "OK".
Adding an exchange vendor is as easy as selecting "Field-Comm Exchange Vendor" and clicking on "OK". The "Exchange Services Directory" will then open. You can scroll down the list to find your vendor, or you can start typing their name in the filter bar located between the "Subscriber" column header and the start of the list of names. Once you've found the subscriber, click on their name to highlight them. If the subscriber is hidden from view and you have their Hub ID, you can also add them by checking off "Add by Subscriber ID" and then typing the ID in the box provided.
When you are done, click the "Select" button. You will be asked if you want to enable communication with the new vendor, click "Yes" to initiate the Field-Exchange connection. The new vendor is then added to the vendor's list.
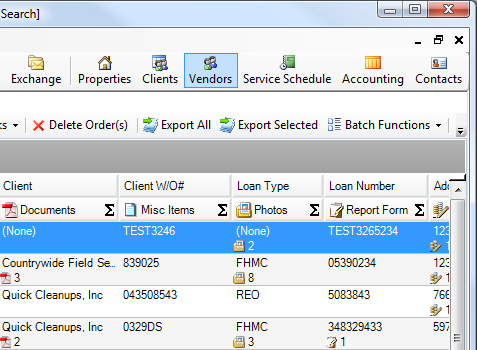
You are able to add any vendor that you see in the vendors list, but are unable to send them work unless they accept your connection. To view additional information about a vendor click the "Details" button, and you will see their contact info.